By default Configurator Reloaded will be installed through the Creative Cloud app. It may happen, however, that this does not work. Please follow this instructions step by step.
A) Installation through the Creative Cloud App
- Click here: https://www.adobeexchange.com/creativecloud.details.18927.html
- Click on the blue “Buy” button with the price and make the purchase (if not already happened)
- After a few seconds Configurator Reloaded should be installed automatically through the Creative Cloud App. If the installation is successful you will receive the notice “You have installed the Add-on Configurator Reloaded”.
If you don’t receive this notice please check that:
• The Creative Cloud App is running
• Synchronisation is turned on. To check this click in the Creative Cloud App on the gear icon on the upper right corner and click on “Preferences”. Change to the tab “Creative Cloud” and then to “Files”.
- Restart Photoshop. You can find the Panel here: „Window“ -> „Extensions“ -> „Configurator Reloaded“.
If this isn’t working for you, click on “B) Installation with Anastasiy’s Extension Manager” below
B) Installation with Anastasiy’s Extension Manager (only if step A doesn't work)
- Click here: https://www.adobeexchange.com/creativecloud.details.18927.html
- Click on the blue “Buy” button and make the purchase (if not already happened)
- If the automatic installation through the Creative Cloud App isn’t successful click on Download/Install another way

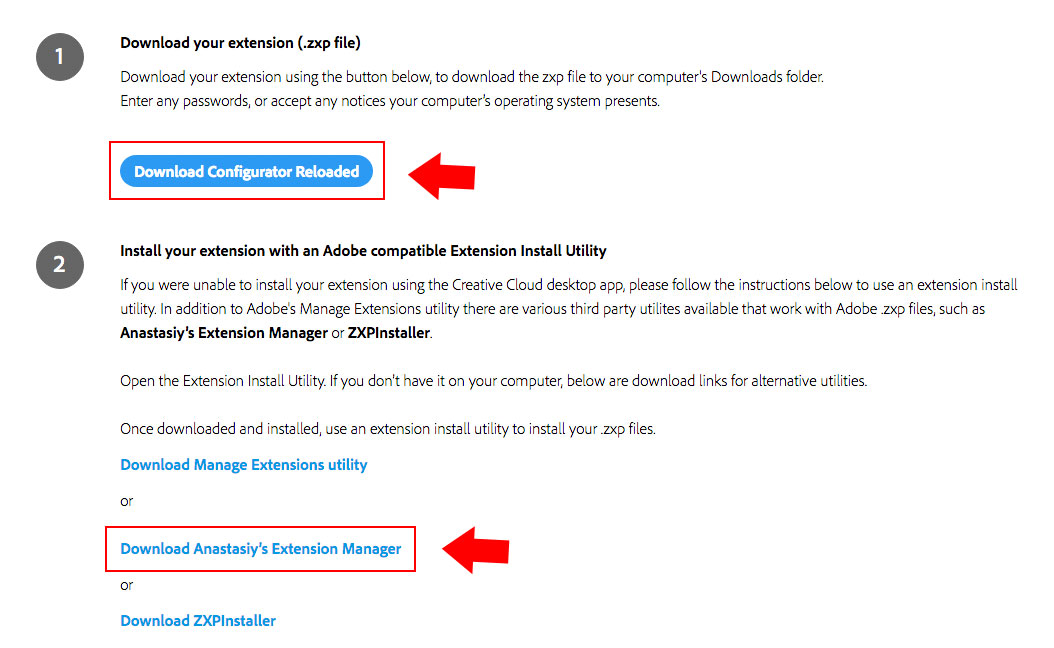
- Click on “Download Configurator Reloaded”. This will let you download the zxp-file.
- I recommend Anastasiy’s Extension Manager. Download it by clicking on the link.
- In Anastasiy’s Extension Manager click on “Install” in the left upper corner and choose the zxp-file that you downloaded before.
- Restart Photoshop. You can find the Panel here: „Window“ -> „Extensions“ -> „Configurator Reloaded“.